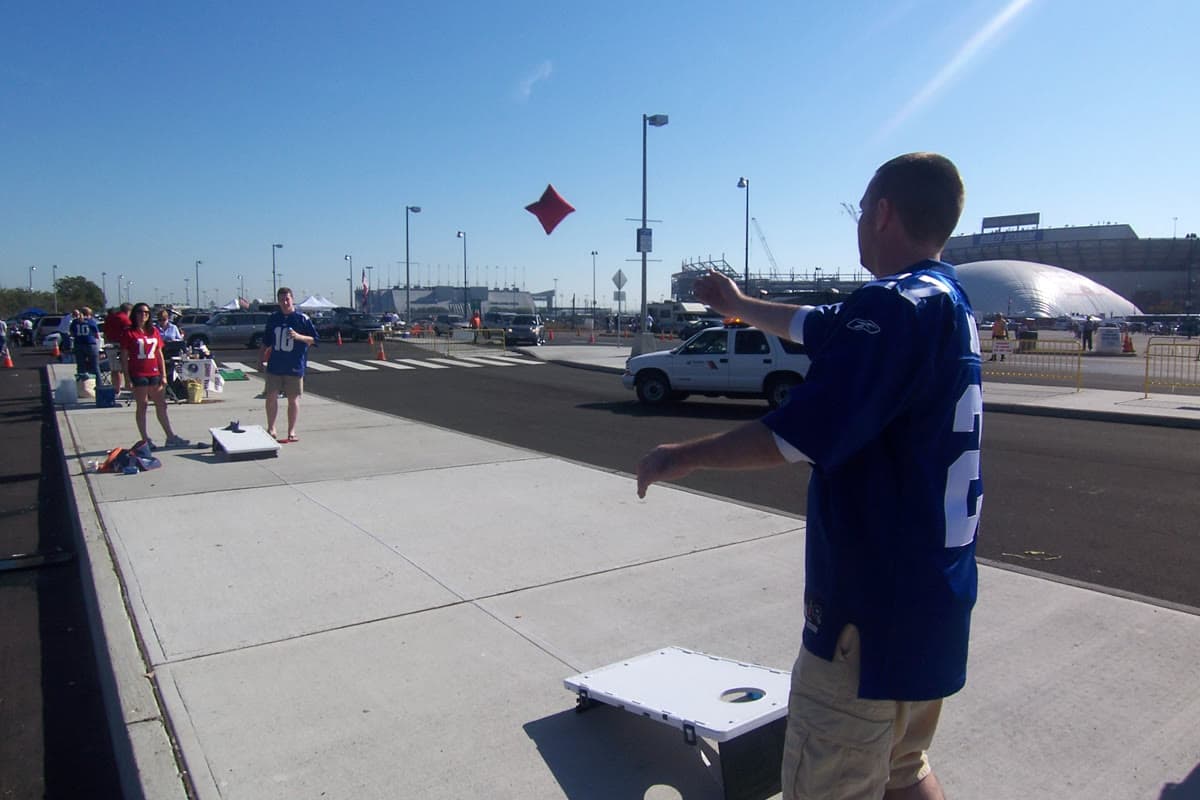
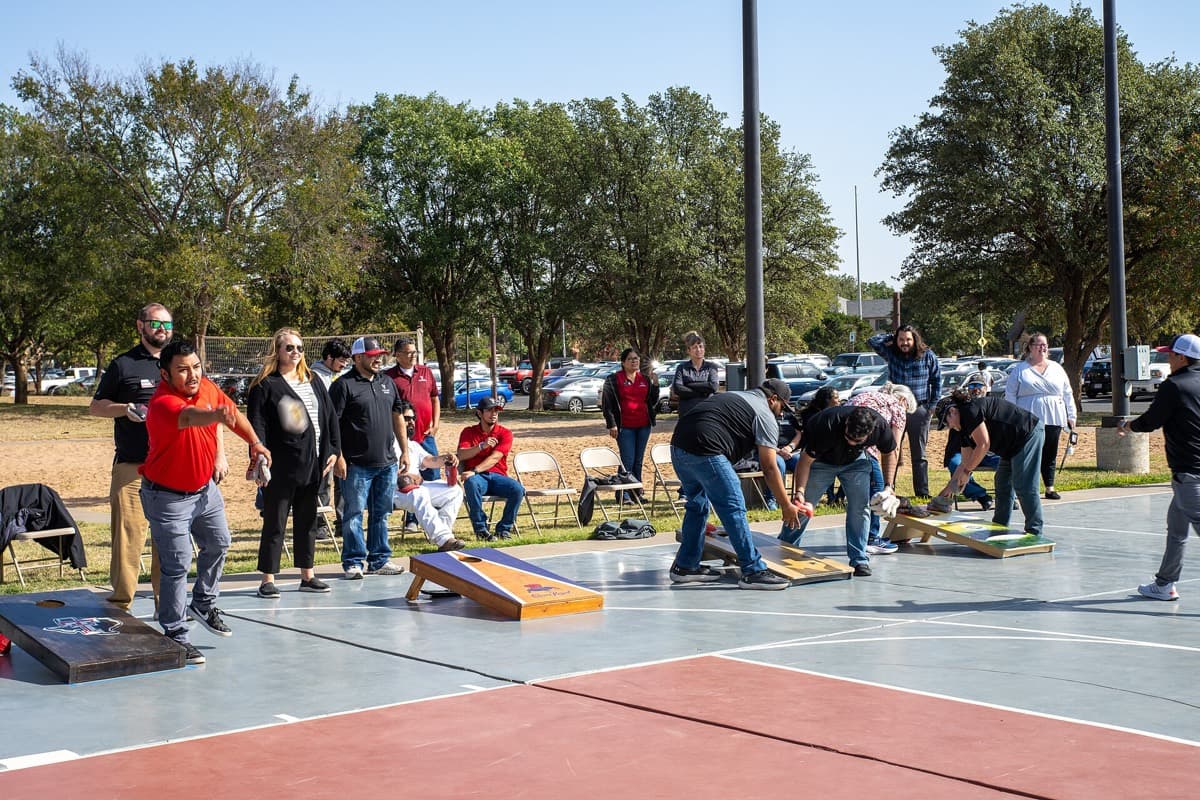
How to Make Cornhole Boards vs Custom: Real Cost, Time, and Quality Compared
Cole Brennan, Contributor
Updated (published )13 min read
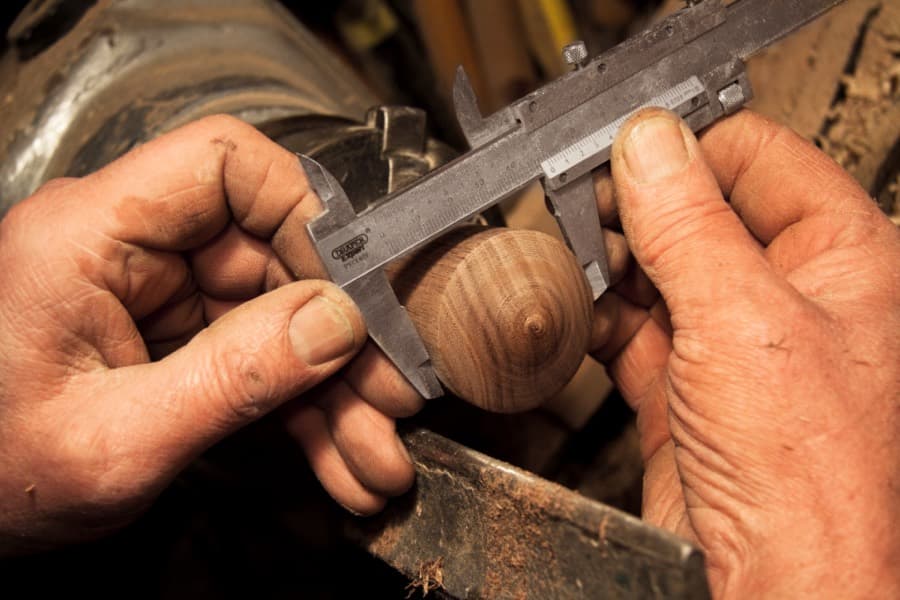
If you are weighing how to make cornhole boards yourself, a weekend build can sound cheaper than ordering a set. It can be, if you already own the tools, you pick the right plywood, and you are honest about the hours finishing will eat. This guide compares diy cornhole boards against a fully custom regulation build so you can decide before you haul lumber home.
The short answer: A regulation DIY set typically runs $75–$260 in materials (plywood, frame lumber, hardware, finish, and often bags) plus one full weekend if you are new to woodworking. A custom regulation set trades that labor for shop-built consistency, a designed playing surface, and no tool shopping. A cornhole board, for the record, is a 24in x 48in angled face with a 6in hole near the top edge, built so bags slide on a smooth playing surface.
Regulation specs both paths must hit
Whether you build in the garage or order a custom set, the playing surface has to match what tournament players expect. According to Kreg Tool regulation plans and The Home Depot how-to guide, a regulation board uses a 24in x 48in top, a 6in hole centered 9in from the top edge and 12in from each side, and legs that set the rear playing surface at about 12in. The American Cornhole Association calls for a smooth, semi-gloss finish so bags slide correctly.
For every measurement in one place, see our cornhole board size and distance guide. It covers the 24in x 48in face, hole placement, 12in rear height, and 27ft court spacing.
| Spec | Regulation value |
|---|---|
| Playing surface | 24in x 48in |
| Top thickness | 3/4in (tournament standard in DIY plans) |
| Hole diameter | 6in |
| Hole center | 9in from top, 12in from each side |
| Rear height | 12in to playing surface |
| Finish | Smooth, semi-gloss for bag slide |
How to make cornhole boards: what a DIY build actually involves
Most cornhole board plans from Kreg, Home Depot, YellaWood, and Four Oaks Crafts follow the same skeleton: two 3/4in plywood tops, a 1x4 or 2x4 frame with cross braces, carriage bolts for folding legs, exterior screws, wood glue, sandpaper, primer or paint, and spar urethane or exterior polyurethane on the playing surface.
Tools you will need include a circular or miter saw, a drill, a jigsaw or 6in hole saw, and a sander. A pocket-hole jig shows up in many published plans but is optional.
Here is the high-level sequence most builders follow. For cut lists and detailed diagrams, use the linked plan sources rather than duplicating them here.
- Cut or buy two 24in x 48in tops (many lumber yards sell pre-cut 2ft x 4ft sheets).
- Build a rectangular frame with cross braces and attach the top.
- Lay out the 6in hole and cut it with a jigsaw or hole saw.
- Shape folding legs and bolt them with carriage hardware.
- Sand through progressive grits until the surface is smooth.
- Apply paint or stain, then clear coat in multiple coats with dry time between.
- Add or buy eight regulation cornhole bags so both teams have a matched set.
DIY cost breakdown: materials nobody puts in the headline
Headline numbers on DIY guides rarely include bags, finish, or the tools you do not already own. Shelf prices move, so start with what big-box stores were listing in late 2026, then layer in published breakdowns.
At Home Depot in September 2026, two 3/4in x 2ft x 4ft PureBond birch project panels list at $34.11 each, or about $68 for both regulation tops without ripping a sheet (SKU 4391 listing). One 3/4in x 4ft x 8ft birch sheet in the same category lists at $74.98 and yields two tops with offcuts. For a budget path, a 23/32in CDX 4x8 sheet was cited at $46.57 on Lowe's in an August 2026 snapshot (Woodworking Advisor citing Lowe's). Framing studs in the 2in x 4in x 96in category list at $3.85 each; six studs cover a typical two-board frame and leg stock at roughly $16–$23 before hardware (Home Depot framing studs).
According to Popular Woodworking Plans, materials for a full regulation two-board set run $60–$90. Liz Pacini's 2026 cost breakdown totals about $130 including roughly $58 for plywood, $20 for 1x4 pine, $8 for hardware, and $45 for bean bags, with tools and stain excluded. A Reddit r/Cornhole thread from experienced builders puts a "really good" Baltic birch set at $100–$120 when you already own the right tools.
| Cost line | Budget DIY | Mid DIY | Pro DIY |
|---|---|---|---|
| Plywood tops (2) | CDX sheet ~$47 + rip time | Two 2x4 birch panels ~$68, or 4x8 birch $75 | Baltic birch / premium panels $120+ |
| Frame lumber + hardware | ~$16–23 studs + ~$15 hardware | ~$25–35 | ~$40–60 |
| Finish + paint | ~$30 | ~$40 | ~$50 |
| Cornhole bags (8) | ~$40 | ~$45 | ~$50+ |
| Tools (if buying new) | $150–400+ | same | same |
| Typical materials subtotal | $75–130 | $130–180 | $180–260 |
Hidden costs sit outside that table. A ruined first top from a crooked hole saw, a second run of polyurethane when humidity traps the finish, and a garage cluttered with sawdust for a week all have a price even when they do not show up on the receipt. For a wider retail vs DIY vs custom picture, see our cornhole set cost breakdown.
Time and skill: the real price of DIY
Popular Woodworking Plans estimates 4–6 hours of active build time for experienced DIYers. First-timers should budget a full weekend plus finish dry time. Four Oaks Crafts applied stain plus five polyurethane coats on the playing surface, with sanding between coats, which stretches the calendar even when the hands-on hours stay modest.
| Phase | Time |
|---|---|
| Shopping + haul lumber | 2–3 hours |
| Cut + frame assembly | 3–5 hours |
| Hole + legs | 1–2 hours |
| Sanding | 1–2 hours |
| Finish (multiple coats) | 2–3 days elapsed |
| Total elapsed | 2–4 days |
Skills that trip people up are less about driving screws and more about precision. A frame that is out of square wobbles. A 6in hole cut off-center changes how bags fall. Leg pairs cut to uneven lengths tilt the board. Getting the slide right without a tacky or chalky surface takes patience with dry times and grit progression.
Quality and durability: where DIY sets fall short
Wood choice drives how long a homemade set survives on a patio. DIY plans consistently specify 3/4in birch, ACX, or Baltic birch tops rather than thin sheet without bracing, which flexes under a heavy bag. Our best wood for cornhole boards guide walks through species tradeoffs if you are standing in the plywood aisle.
Four Oaks Crafts warns that untreated plywood left in rain fails outdoors even with spar urethane if edges stay open to moisture. Warping and cupping are the most common long-term complaints in builder forums.
Graphics add another layer. Paint and stencils work for backyard sets. Vinyl wraps and decals can peel after a season of sun and dew. That gap matters when you need a wedding date, team logo, or brewery mark that has to look identical on four boards.
| Mistake | What happens | Fix / prevention |
|---|---|---|
| Thin top without bracing | Flex and bounce | Use 3/4in stock or add cross-bracing |
| Skipping edge seal | Cupping from moisture | Seal all plywood edges |
| Legs cut uneven | Wobble | Match pairs, test on flat concrete |
| Rushing poly coats | Tacky or too-slick surface | Follow dry times, light sand between |
| Leaving boards wet on the patio | Warp when you cannot store indoors | Store dry, or order a sealed custom set and keep it under cover |
What custom cornhole boards buy you
A custom regulation build trades garage hours for shop-built consistency. At The Cornhole Exchange, tournament boards use a 1/2in sanded plywood playing surface on a kiln-dried 2x4 frame, with folding legs that set the front edge at a true 12in. Artwork is UV-cured directly into the surface and sealed under a marine-grade tournament clear coat rather than applied as a vinyl wrap. Each set ships with eight dual-sided 6oz duck cloth bags filled to a regulation 1lb with resin pellets. See Materials for tops, frames, print, and bag construction.
Before you upload artwork, browse the inspiration gallery for layout ideas, then open the cornhole boards catalog to buy a shown look or hit Customize on a set you like. When you want your own file on the board, start in the designer: pick a build, upload JPEG, PNG, or WebP artwork or build from the design library, and watch the live preview update as you go. After you pay we send a design proof, and nothing is built until you approve it. That workflow is different from guessing on painted plywood in the driveway. For a walkthrough of the preview step, read our custom cornhole board designer preview.
Custom wins when the deadline is tight and shop skills are thin, when logos or wedding graphics need to match across sets, when gift-quality finish matters more than saving on lumber, or when you would rather approve a proof than run a fifth polyurethane coat.
Branded sets for patios, leagues, and events
Business readers face a different math. A brewery patio, company picnic, or league fundraiser that needs eight identical logo boards is not a realistic hand-paint project for one volunteer weekend. You can order up to eight matched sets in one checkout through the same designer flow, upload your logo, pay, then approve a design proof before anything is built. If you need a larger matched fleet, contact us with your brief so we can line up quantities and shipping.
DIY vs custom: side-by-side decision
Retail sets give you a quick anchor for the custom column. In September 2026, Amazon listed a GoSports solid wood 4x2 set at $225.97 (B07VWQ1227) and Cornhole Solutions tournament Baltic birch UV-print sets at $319.99–$349.99 (B08NT6KFWK). Designed-to-order sets on The Cornhole Exchange start at $399.99 for the Backyard build and $519.99 for Premium in the cornhole boards catalog, with your artwork and the proof step included.
| Factor | DIY | Custom (designed to order) |
|---|---|---|
| Upfront cash | Lower materials-only ($75–$260 band) | Higher (DIY materials vs ~$226–$350 retail UV sets, or catalog from $399.99) |
| Time | Your weekend + finish days | Design time only |
| Tools required | Saw, drill, sander, etc. | None |
| Regulation accuracy | Depends on your cuts | Built to spec |
| Custom graphics | Paint/stencil/vinyl DIY | Designer live preview |
| Outdoor life | Depends on wood/finish and storage | Sealed print; store boards dry for longest life |
| Best for | Hobbyists, tight cash, shop time | Gifts, events, branding, no tools |
| Scale (matched sets) | Impractical beyond a pair | Up to 8 sets in one checkout; contact for larger fleets |
A third path: unfinished boards and kits
Between full DIY and fully custom sits the unfinished cornhole board or pre-cut kit. The ACA and big-box retailers sell tops and frames that skip the lumber-yard run but still need finish, bags, and design work. That middle path makes sense when you want regulation size without cutting plywood but still plan to clear-coat and paint yourself. Branded events that need identical artwork on every board usually outgrow this option quickly.
Which path fits your situation?
If you own the tools and want a shop project, start with regulation plans from Kreg or Home Depot and budget for bags and finish. If you want regulation play but hate polyurethane dry cycles, an unfinished kit plus a pro clear coat, or a custom order from the catalog, saves calendar time. If you need a logo, a wedding date, or multiple matching sets, custom design with a live preview beats hand-painting eight tops.
Regulation dimensions matter at cookouts and league nights alike. Our Official Cornhole Rules guide explains why ACL and ACA equipment specs exist and how they affect casual play.
What to do after reading this
If you still plan to learn how to make cornhole boards yourself, bookmark a plan source and read Regulation Cornhole Board Dimensions before your first cut. If the time and tool list already feel heavy, scroll the inspiration gallery, pick a direction, then open the cornhole boards catalog or start in the designer so you can preview artwork before anything is cut. The designer preview article shows what that screen looks like step by step.